
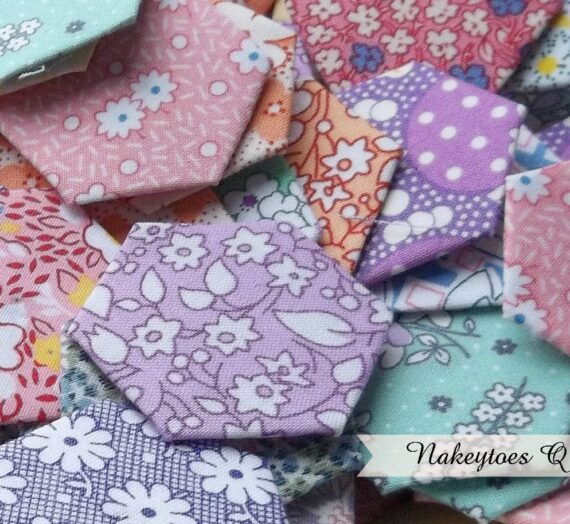
Last week I posted a shot of the fabrics that I was going to use for my daughter’s new bedroom quilt. It took me four days to complete the top, but I love, love, love how it turned out. The colors are so bright and cheerful that even on the gloomiest days there will be a spot of color in her world.

The line I chose to work with is Sweet Things by Holly Holderman for Lakehouse Drygoods. I found the fabrics a couple of years ago and only collected what I thought would be enough for a simple throw. Fast forward to December, 2014 and I decided to redecorate Junior’s bedroom as a de-cluttering project. I grabbed the fabrics and started looking at patterns, then discovered that I had nowhere near enough fabric for a full size quilt. Through various online quilt shops (I searched using www.quiltshops.com) I was able to find enough of the coordinating fabrics to create the top you see pictured above as well as the backing and any other coordinates I create for her room.
To construct the quilt top I basically cut the panels and sashed them using 1 1/2″ strips cut from various fat quarters. I mitered the connections to give the sashing more movement. I’m thrilled with the overall effect.


 To make mitered sashing, I cut 1 1/2″ x 22″ strips from several fat quarters. Taking two strips lay one end across the end of the other at 95* angles, overlapping 1/4″ (see picture).
Disclaimer: This post contains Amazon affiliate links from which I earn a (very) small commission when you make a purchase. Please consider supporting this site by clicking on the links. Thank you!

Using a straight edge (I found a 3×5 card to be an excellent choice), lay it on the diagonal from the top left down to the lower right. This will be your sewing line.
 Lower your needle at the top of the fabric at the edge of your 3×5 card and proceed to sew along the straight egde, being careful not sew the card. You will now have a mitered seam.
 Using either a 1/8″ or 1/4″ Add A Quarter ruler, trim your seam allowance.
 Press the seam to one side and you now have a perfect mitered sash. 🙂

It took me hours to pick out a border arrangement that I could live with. I finally decided I liked the look of the floating sashing. I adored the purple print and plan to paint my daughter’s room in a complimentary shade. And I loved the boldness of the outer print. If I had it to do over again, I would lengthen the bold print and scallop the edges after quilting, but alas, too late now. However, some good friends have told me that I can still do a subtle scallop. So it’s off to the quilter’s, and I have my first top finished for the year!
While I’m waiting to get it back from the long-armer, I still need to get her room painted, the full size bed in storage set up, finish de-cluttering, paint end tables, create a reading nook, shop for lamps, a new ceiling fan, storage containers and rugs. It’s going to be a busy month.
Linking up this week with Crazy Mom Quilts.
Thanks for listenin’!
Blessings!
Melissa
Jenny
Love the smashing sashing , very creative !
mllitz
Thank you, Jenny!
DeLee
It’s lovely…bright and cheery colors! This quilt will be a beautiful focal point for your room make over project.
mllitz
Thank you so much for your comment! I’m looking forward to the room makeover, and can’t wait to show everyone the reveal.
Jess
Beautiful quilt!!! Thanks for the tutorial too!!
~ Jess ~
Everything Is Coming Up Rosie
mllitz
Thank you for the compliment and you are most welcome, too!
Karen
This quilt is stunning. I love the bright colors. The scrappy sashing makes this quilt.
mllitz
Thank you! It was a lot of fun to make, too.