 Quarantine Quilt Challenge Week 3
 Quarantine Quilt Challenge Week 3
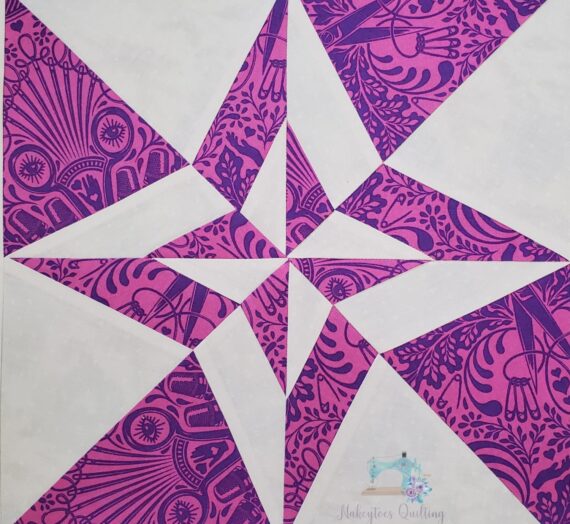
It’s week 3 of the Quarantine Quilt Along and I hope y’all are enjoying yourselves. This week we introduce “A Dandy“, a modified Churn Dash block. You can find the directions at this Quilter’s Cache link.
If you’re new to the Quilt Along you can find the fabric details as well as the first two parts in the links below.
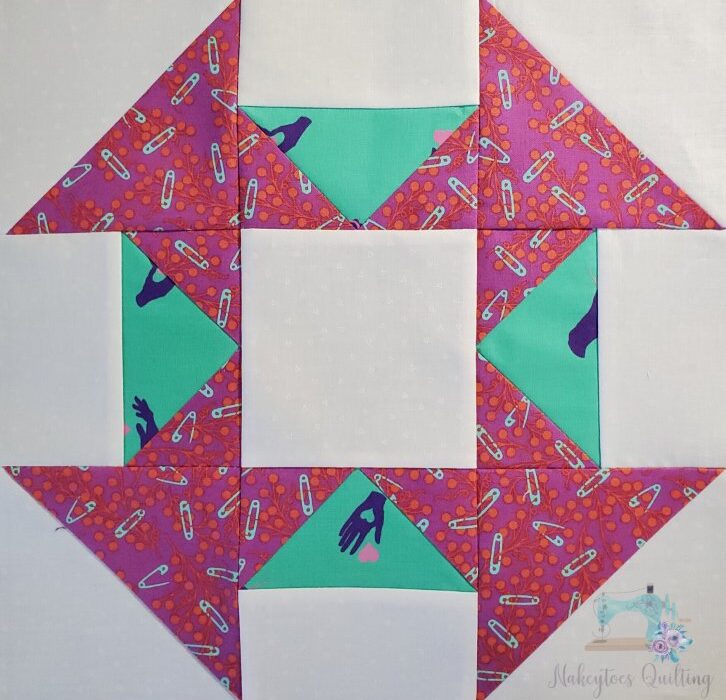
I finally remembered to take lots of photos for this block so this post will be image intensive. When you’re not a photographer, it’s really hard to take good photos. I chopped off the points in my finished block. Oy.
Once you have chosen your fabrics, begin by cutting strips to the right size. In order to conserve fabric, be sure to check the strips from the past weeks to see if any of them will suffice. Label any remainders and set them aside for future use. Here are the cutting directions for A Dandy.
When cutting, be sure to keep the line of your ruler ON the fabric to ensure proper unit size.
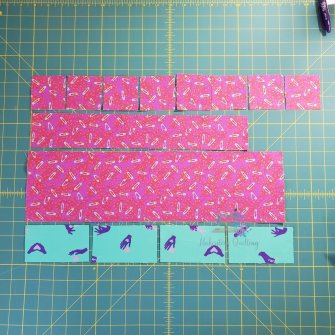
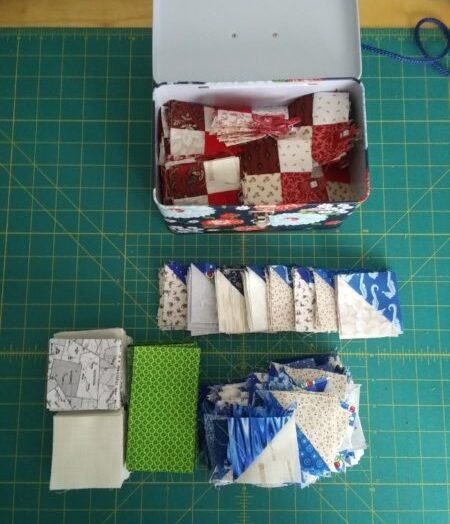
These are my fabrics for A Dandy block. I just need to add the background fabric.

Step two is to speed piece your half square triangles. Place the two 4 7/8″x9 3/4″ rectangles (I cut mine 5×10 to ensure unit size) on top of each other and line them up. Using the marking utensil of your choice (I use a purple Frixion pen because the lines won’t be visible), draw a vertical line at the halfway point. Then draw a 45° line from point to point in either direction. Refer to photo.

At the sewing machine, line up your needle just a couple of threads from 1/4″ to the left of your drawn line and begin to stitch according to the diagram at Quilter’s Cache. You will have sewn a large double V. Do not sew along the vertical line.

Once you have sewn all the around on both sides of the lines, cut your blocks ON the line.

Press open to the dark side.

Trim to 4 1/2″ square. A rotating mat comes in really handy for this step.

Voilá! You have four half-square triangles!

Set the half-square triangles aside and grab the Fabric One 2 1/2″ squares. Flip them to the wrong side and mark a line from point to point. Lay a square right sides together on top of a Fabric 2 rectangle lining up the edges (see photo). Do NOT sew ON the line. Sew a thread or two to the right side of the line. This will account for the turn of the fold and ensure proper unit measurement. Chain stitch the rest of them and you should end up with a picture like mine. Press.

Using your Add-a-Quarter ruler, snug it up on the sewing line and trim your seam allowance. Toss the scraps in your crumb container or the trash. Press open and repeat on the opposite side.

Next, use the flying geese trim tool of your choice (I use this Bloc Loc) and trim the units to 2 1/2″ x 4 1/2″

Once everything is trimmed, lay your units out and start assembling the block. Sew the flying geese units to a background rectangle. Press to the light side to avoid bulk. Then begin to stitch the units into rows, then sew the rows together to form the block.

Press and trim to 12 1/2″ square. You’re finished for this week. If you’re in the Texas Quilter’s Group, be sure to post your block in the weekly share post.
Thank you all so much for participating. This has been such an enjoyable experience for me to put these blocks together.
In other news, I’m still working to put the podcast together. I’m really intimidated by the learning curve, and I’m a perfectionist. I have this driving need to have high-quality sound from the beginning. This next week I plan to face my fears and really move forward with the production end of the podcast.

Today’s Amazon Item of the Day is Gingher’s 8″ Knife-edge Dressmaker Shears. I purchased mine back in 1991 as a 19-year-old and have had them sharpened exactly once. They hold an edge, unlike any other scissors I have ever used. Because of this, I purchased a left-handed set for my daughter a couple of years ago. The quality is still the same.
As always, if you have any questions, don’t hesitate to reach out to me through either the comments, email at nakeytoesquilting@gmail.com or through Social Media @NakeytoesQuilting.
Blessings!
Melissa